My sweet Aria has a creative streak in her. I'm seeing it more and more every day. She takes the materials that she finds in the world around her and makes them into something special. . . something beautiful.
In fact , just the other day she took candy wrappers and made this beautiful headband and bracelet. I asked if I could post a tutorial so others could learn how to make these. She said yes! So, we took some pictures of the process step-by-step and here it is!
Candy Wrapper Accessories
Materials:
Candy wrappers cut to measure 1 3/4" x 4" or gum wrappers
(You will need about 17 for a bracelet and 28 for a headband)
A hold puncher (not shown)
Cording (leather, suede or satin)
Beads (1 per bracelet)
Stretchy loops (2 per headband)
Directions:
 |
| First you need to take one of your candy wrappers and fold it in half, length-wise to create a crease/fold line. |
 |
| Turn it over and fold each end in to meet the center fold line. This will create 4 equal divisions in the wrapper. |
 |
| Next you need to apply some glue stick and permanently fold in one of those sides to the center fold line. |
 |
| Repeat this step on the opposite side with the glue stick. It should look like this. |
 |
| Next you need to fold in in half on that center fold you first created and glue it down. |
 |
| Then you fold it in half to create a new center fold line. |
 |
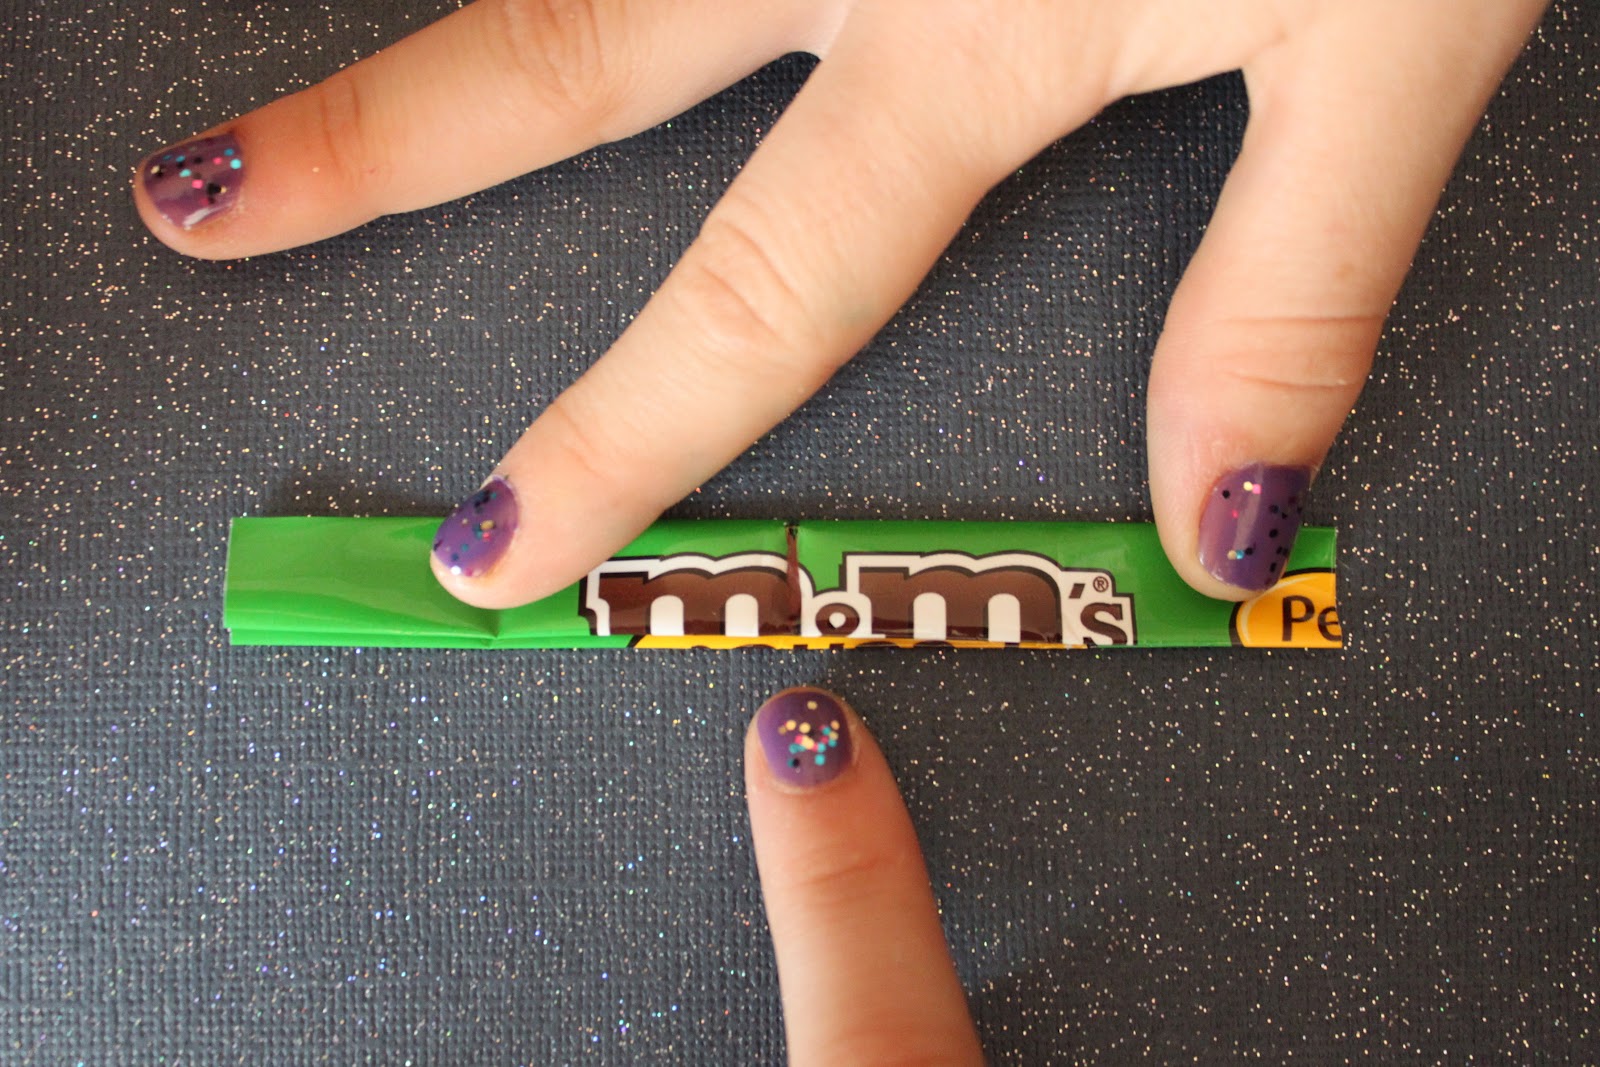
| Open your fold to reveal your center fold line (Aria is pointing to it here.) |
 |
| Bring one side in to meet the center fold line. |
 |
| Do this with the opposite side. |
 |
| Make one last fold in half, folding those rough edges into the center. Set this aside. |
 |
| Once you have made a second one of these little folded candy wrappers, slip the open ends of one rectangle into the fold of the other, creating a link. This link becomes stronger the more wrappers you add. |
 |
| To make a headband, Aria linked about 28 of these together and put a hole punch through the end piece on each side. |
 |
| She used a standard sized hole punch. |
 |
Then she looped a stretchy band through each hole and tied them together in a knot. This can be easily adjusted to fit any head. When the head band is on, the purple stretchy band isn't seen at all.
To make the bracelet, she looped a piece of suede cording through the two end holes, pulled a bead through both cords at once, and knotted the ends of the cording to prevent the bead from falling off. When she wants to put the bracelet on, she just cinches up the bead and it's tightly in place!
Okay- I realize this seems like a lot of steps, but after you do it once, it's a breeze to knock out a bunch of them and you will have a bracelet in 10 minutes or so! |


No comments:
Post a Comment